How to Cut Traditional Wooden Threads With a Tap and Die Set
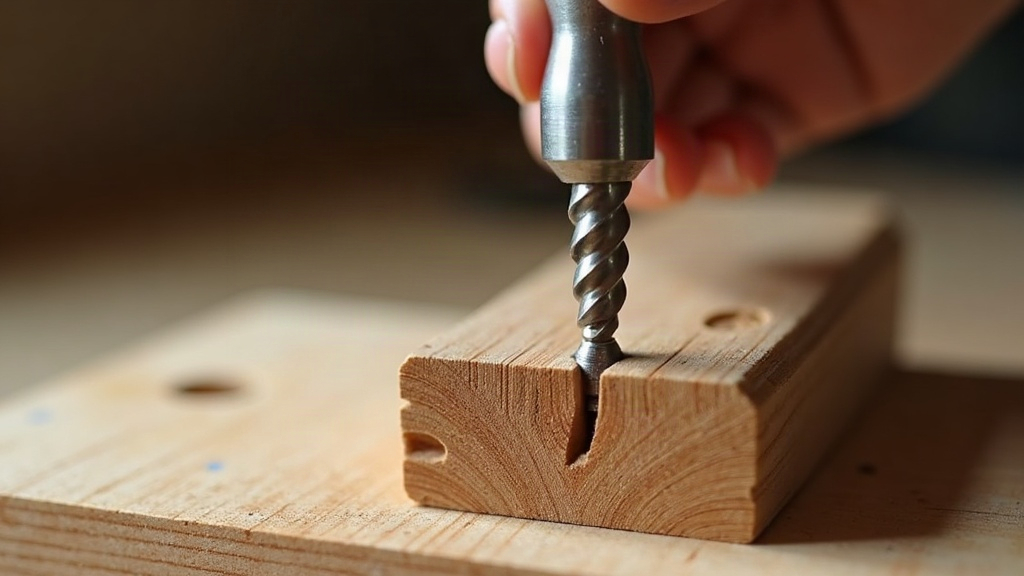
Traditional wooden threads let you build elegant, repairable parts without a scrap of metal hardware. With a wood tap and die set, you can cut a threaded wooden screw and a matching threaded hole for things like vise screws, jar lids, adjustable clamps, presses, and decorative boxes. Success here has less to do with muscle and more to do with picking straight-grained hardwood, sizing your blanks accurately, and keeping everything aligned from the very first turn of the tool.
What Is a Wood Tap and Die Set?
A traditional wood tap and die set works on the same basic idea as a metal threading kit, just scaled up and built for timber instead of steel.
- A die cuts external threads onto a round wooden blank, turning it into a wooden screw.
- A tap cuts internal threads into a pre-drilled hole, creating the matching nut or receiver.
- A thread box is the most common form of wooden die. It guides the workpiece through a cutter housed in a wooden body.
- Larger sets sometimes come with replaceable cutters, guide bushings, or dedicated handles.
These tools are typically sized by the diameter of the finished thread. You’ll see sets running from around 1/2 inch (handy for small boxes) up to 1 1/2 inches or beyond for bench vises and presses.
Choose the Right Wood
The best wood for threading is dense, stable, and straight-grained. Thread peaks are surprisingly fragile in soft or coarse-grained stock, so your choice of material here basically decides how long the finished piece will last.
Good options include:
- Maple
- Beech
- Apple
- Pear
- Boxwood
- Hornbeam
- Straight-grained ash
Steer clear of knots, wild grain, checks, or anything with pronounced open pores. Oak can be pressed into service for large threads, but its open grain tends to leave rough, ragged thread edges. Softwoods like pine are a poor match too; they compress, tear, and wear out fast.
For a screw, run the grain along its length. That single choice gives the threads their maximum possible strength. And use dry, acclimatized stock. Wood that keeps shrinking after threading is done can bind up or crack later, sometimes weeks after you thought the project was finished.
Prepare the Screw Blank
Before you touch the die, you need a clean, accurately sized blank. It should be round, smooth, and just slightly smaller than the die’s entry opening, not exactly matching it.
Turn or Plane the Blank
A lathe gives the most accurate result, hands down. Turn the blank to whatever diameter the tool maker recommends. No guide available? Test on a scrap piece first, always. Go too large and you’ll get excessive cutting pressure and torn grain; go too small and the threads come out shallow and weak.
No lathe on hand? Rough out an octagonal blank with a hand plane, then refine it with a spokeshave and sandpaper. Check the diameter with calipers at several points along the length, not just once at one end.
Add a Lead-In Chamfer
Cut a generous chamfer on the end that will enter the die. About 1/8 to 3/16 inch is usually plenty for smaller threads; larger screws do better with a longer taper.
That lead-in lets the die start evenly instead of crushing the end grain on first contact. Mark your intended threading length with pencil or a strip of masking tape so you know exactly where to stop.
Cut External Threads With the Die
Secure the blank upright in a vise with padded jaws, firm but not crushed. Keep the die level and centered right over the chamfered end.
Apply a small amount of lubricant here. Beeswax, paraffin, or a light coat of paste wax cuts friction and leaves the cutters a cleaner surface to work with. Skip heavy oil though; it can mess with glue or finish later on.
Start the die with slow, controlled pressure, turning clockwise. Those first few turns are the ones that decide whether your threads run straight or wander off course.
Keep the Die Square
Watch the die from two angles as you start it. If it tilts even slightly, back it off right away and start over. A crooked screw might thread into the matching nut for a couple of turns and then just bind up solid.
Once the cutters have caught:
- Turn the die forward about half to one full revolution.
- Reverse slightly to break and clear the shavings.
- Keep going at a steady, even pace.
- Brush chips away often.
- Stop right at the marked depth.
If the die gets hard to turn, don’t muscle it. Back it off, clear the debris, add a touch more wax, and check the blank for torn fibers. Forcing it is a good way to split the wood or wreck the cutters.
Drill and Tap the Matching Hole
The threaded hole needs to be drilled to the correct pilot diameter for your specific tap. Most sets include a chart or spec sheet for this; use it whenever you can find it.
Working with an old, unmarked tool? Test on scrap to nail down the right size before committing. Too small a hole makes tapping a fight and risks splitting the workpiece. Too large and the threads end up too shallow to hold anything.
Clamp the workpiece securely and drill straight. A drill press gives you the best alignment, though a hand drill paired with a guide block can also get the job done.
Start the Tap Carefully
Chamfer the rim of the hole a little with a countersink or a knife. Then set the tap squarely into the opening and turn slowly.
Use the same forward-and-back rhythm you used with the die:
- Advance roughly half a turn.
- Reverse slightly to break chips loose.
- Continue down to the desired depth.
- Back the tap all the way out and clear the debris.
For blind holes, wrap tape around the tap as a depth marker so you don’t bottom it out. Compressed shavings jammed at the bottom can split the piece open.
Test-Fit and Refine the Threads
Thread the wooden screw into the tapped hole by hand. It should go in smoothly, with just modest resistance. A good fit feels firm, not like a wrestling match.
If it’s tight, wax both parts and run the screw in and out a few times. Still binding? Check for crushed fibers or trapped chips in the threads. A small carving knife can clean up damaged spots, but go easy, don’t sand the thread profile aggressively or you’ll round it off.
For a working mechanism, wax is usually the best final treatment. Beeswax gives that classic traditional feel, while a harder paste wax holds up longer under repeated use.
Common Problems and How to Avoid Them
Torn or Fuzzy Threads
Usually traced back to dull cutters, the wrong wood, or an oversized blank. Switch to straight-grained hardwood, sharpen or swap out cutters, and take smaller, more controlled turns.
Crooked Threads
This happens when the die or tap wasn’t square at the start. Use a guide block, check alignment from two sides, and restart at the first sign of trouble, before the crooked path becomes locked in.
Split Workpiece
Probably the pilot hole was too small, the wood too dry or brittle, or the tap got forced. Bump up the pilot hole size slightly on a test piece and clear chips more frequently.
Loose Fit
Either the screw blank ran undersized or the hole was drilled too large. Cut a fresh matching pair from test stock before you commit to the actual workpiece.
Conclusion
Cutting traditional wooden threads with a tap and die set is one of those practical hand-tool skills that pays off in strong, genuinely beautiful hardware made from nothing but wood. Start with straight-grained hardwood, prepare precise blanks and pilot holes, keep everything square, and test every setup on scrap first. Get the technique right, and wooden threads will stay smooth, functional, and repairable for generations to come.