Hand-Cutting Curved Cabriole Legs From Air-Dried Cherry Blanks
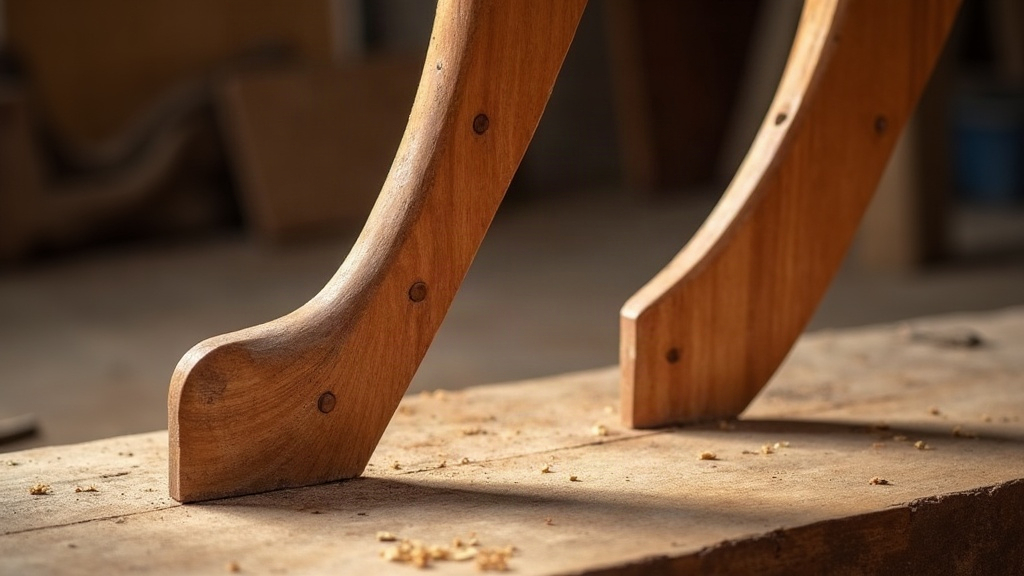
Hand-cutting curved cabriole legs from air-dried cherry blanks ranks among the most satisfying skills a furniture maker can pick up. It asks for precise layout work, steady bandsaw cutting, and the kind of patient hand-tool shaping that turns a plain square blank into something that actually flows. This guide walks through the whole process, from picking the right cherry stock to the final smoothing passes, so you end up with legs that look graceful and hold up structurally for decades.
Why Air-Dried Cherry Is the Right Choice
Ask any furniture maker who’s worked with both, and they’ll tell you air-dried cherry earns its reputation:
- Stability: Slow, natural drying lets internal stress dissipate gradually. That matters a lot once you start removing big chunks of material to form a curve, since stressed wood can twist or crack mid-cut.
- Color depth: Over time, air-dried cherry darkens into a rich amber-red that kiln-dried boards rarely match. Kiln-dried stock tends to look a bit washed out by comparison.
- Workability: It cuts cleanly whether you’re using hand tools or power tools, holds crisp detail at the knee and ankle, and takes a hand-rubbed finish beautifully.
Look for blanks at least 3 inches square, free of knots, particularly near the knee curve. That’s the highest-stress point on the whole leg, and a knot there is asking for trouble.
Step 1: Selecting and Orienting the Blank
Before you make a single cut, study the grain. The strongest cabriole legs are laid out so grain runs roughly parallel to the leg’s long axis right at the ankle, the spot where cross-grain weakness would otherwise invite a snap under load.
- Mark all four faces: front, back, and both sides.
- Identify the “show” faces, the two outer surfaces that’ll actually be seen once the leg is mounted on a table or chair.
- Check moisture content with a meter. Aim for 8-10% before you cut anything, or you’ll get unwanted movement after shaping.
Step 2: Creating and Applying the Template
A full-size template, paper or thin plywood, isn’t optional if you want consistency. Try eyeballing four matching legs freehand and you’ll end up with four different legs.
- Draw the front profile (that dramatic S-curve) and the side profile as separate drawings.
- Trace the front profile onto two adjacent faces of the blank.
- Trace the side profile onto the other two faces.
- Mark the pad (foot) and knee block locations clearly. These spots often need extra material left in place for carving detail later.
Step 3: Bandsaw Cutting the Rough Shape
This is where things get real:
- Cut the front profile first, on one pair of opposite faces, leaving the waste pieces loosely attached with small wood “bridges” at a few points so nothing falls away mid-cut.
- Tape the cutoffs back onto the blank with masking tape, keeping the side-profile lines intact for the next pass.
- Cut the side profile, again staying slightly oversized, about 1/16 inch outside your final lines. Give yourself room to correct.
Take the tightest curve at the knee slowly. A narrower bandsaw blade (1/4 inch or less) tracks these radii far better than a wide resaw blade, which will bind or wander.
Step 4: Shaping With Hand Tools
Once the rough blank’s off the saw, hand tools take over:
- Drawknife: Clear away the bulk of the remaining waste fast, working with the grain so you don’t get tear-out.
- Spokeshave: A flat-soled spokeshave handles convex curves like the outer knee well, while a round-bottomed one suits the concave transition near the ankle.
- Rasps and files: A half-round rasp blends the transitions between the four original faces into something close to a smooth, round cross-section.
- Scrapers: Finish with a card scraper to clear rasp marks and leave a clean surface ready for sanding.
Work in short bursts and rotate the leg constantly, checking the profile from every angle you can think of. Cherry can tear out badly on figured sections, so ease up on any curly or wild grain rather than pushing through it.
Step 5: Refining the Knee and Pad
The knee block and foot pad are where the eye lands first, so they matter more than you’d think:
- Carve the knee with gentle, flowing cuts. Flat spots will wreck the illusion of one continuous curve, so watch for them constantly.
- For a pad foot, combine chisels and rasps to shape a slightly flared, rounded base.
- Dry-fit the leg against the apron or seat rail as you go. Checking periodically that your mortise-and-tenon or bracket joinery still lines up saves you from a nasty surprise later.
Common Mistakes to Avoid
- Cutting too close to the line on the first pass. Always leave margin for hand-shaping, you can always remove more, but you can’t add wood back.
- Ignoring grain direction, which weakens the ankle and raises the odds of breakage down the line.
- Skipping the template step, which is how you end up with four legs that look like they came from four different pieces of furniture.
- Over-sanding before shaping is finished, which hides high and low spots you still need a scraper to fix.
Conclusion
Hand-cutting curved cabriole legs from air-dried cherry rewards patience more than raw skill. Pick stable, well-oriented stock, use accurate templates, cut conservatively on the bandsaw, and finish with drawknives, spokeshaves, and scrapers, and you’ll get legs with the fluid, sculptural quality that defines fine period furniture. Slow down at each stage. The cherry, with its tight grain and warm color, pays back the effort with a piece that only looks better as it ages.