Fixing Fuzzy Grain After Routing Cherry Cabinet Door Profiles
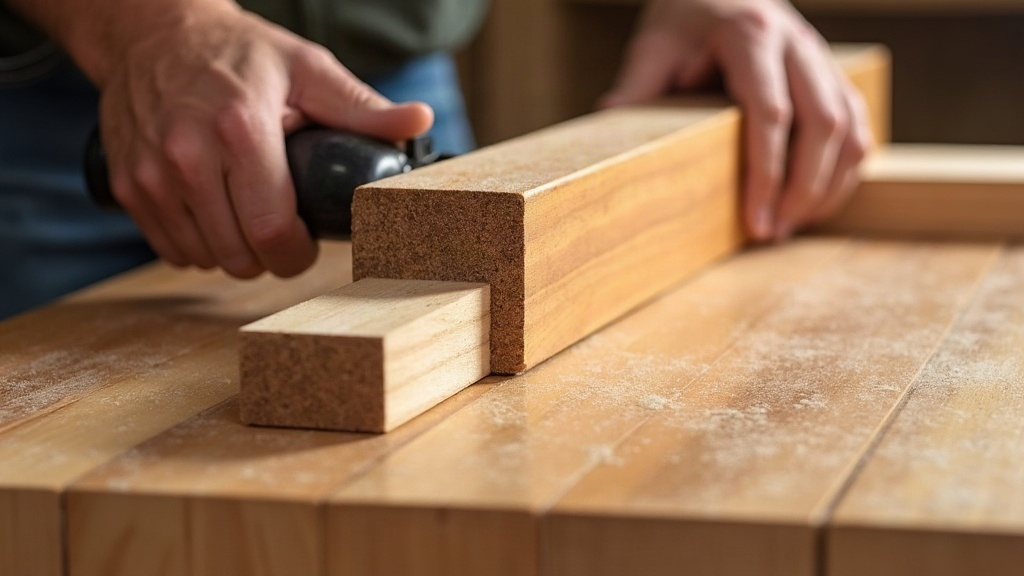
Fuzzy grain after routing cherry cabinet door profiles shows up when the wood’s soft earlywood fibers get torn and crushed instead of sliced cleanly. Usually it’s dull bits, a wrong feed rate, or routing against the grain direction. The fix is a mix of sharper tooling, a few technique tweaks, and some targeted sanding or moisture work to raise and strip away those stray fibers before you ever reach for a finish.
Why Cherry Is Prone to Fuzzy Grain
Cherry is gorgeous wood, but it doesn’t machine like oak or maple. Its grain alternates between soft, porous earlywood bands and much denser latewood bands, sitting right next to each other. When a router bit isn’t razor sharp, it tends to crush and tear those soft fibers rather than cut through them. The result: a fuzzy, almost felt-like texture along profiled edges, which shows up most often on cope-and-stick rail and stile joints or raised panel doors.
Surface fuzz on a flat board is easy, a few seconds with sandpaper and it’s gone. Fuzz trapped inside a routed profile (coves, ogees, beads) is a different animal. It’s harder to reach with sandpaper, and it often gets worse the moment you apply a water-based finish, since the moisture swells those loose fibers and makes them stand up even taller than before.
Common Causes Behind the Problem
- Dull or low-quality router bits. Carbide edges dull faster in cherry’s dense latewood than you’d expect, and even a slightly worn edge is enough to start tearing soft grain instead of slicing it.
- Feeding too slowly. Sounds backwards, but feeding stock too slowly lets the bit linger, burning and tearing fibers instead of shearing them in one clean pass.
- Routing against the grain. On curved profiles the grain direction shifts mid-cut, so some portion of the pass is almost always going “against the grain” unless you compensate.
- High humidity or wet lumber. Cherry that hasn’t fully acclimated to your shop has softer, more flexible fibers that smear under the bit rather than cut.
- Climb-cutting mistakes. Climb cuts can reduce tear-out in some situations, but done wrong on a router table they invite kickback and a rougher edge overall.
Step-by-Step Fix
1. Inspect and Replace Your Bit
Before you touch anything else, hold the bit up under a bright light or use a loupe and look at the cutting edges closely. A couple hours of cutting cherry is sometimes all it takes to dull a bit enough to start fuzzing. Swap in a fresh or professionally sharpened carbide-tipped bit, ideally one with a shear angle built for hardwoods.
2. Adjust Feed Rate and Speed
- Push the feed rate up slightly so the bit shears fibers instead of rubbing against them.
- Drop the router RPM if you’re running a handheld router on tight profiles. High speed paired with slow feed is a classic recipe for burning and fuzzing at the same time.
- Take lighter passes, and use a final light climb cut to clean up whatever tear-out the main pass left behind.
3. Pre-Dampen and Sand the Fuzz
If the fuzz is already there, here’s what works:
- Mist the profiled area lightly with water from a spray bottle.
- Let it dry fully, usually 20 to 30 minutes.
- The moisture lifts the loose fibers so they stand proud of the surface.
- Sand with 220 to 320 grit paper, following the profile shape with a sanding sponge or a block matched to the profile.
- If fuzz comes back after the second drying, repeat the whole cycle once more.
This “wet and dry” trick works because it raises the grain before you ever get near a finish, so you’re not chasing fuzz after stain or topcoat has already gone on.
4. Finish With the Right Products
- Use a sanding sealer or pre-stain conditioner made for cherry. It cuts down on blotching and keeps more fibers from standing back up.
- Skip water-based finishes on unsealed cherry if you’ve already dealt with fuzz once. Oil-based finishes raise grain far less aggressively.
- Apply finish in light, even coats with a fine-bristle brush or foam applicator, nothing that drags across the surface and pulls at fibers.
Preventing It Next Time
- Let cherry lumber sit at your shop’s humidity level for at least a week before you machine it.
- Keep one sharp bit set set aside strictly for cherry and other fine-grained hardwoods. Don’t let it double as your everyday set.
- Run a test pass on scrap cherry cut from the same board before committing to the actual door panels.
- A router table with slower variable speed control can make a real difference in feed-rate consistency.
Conclusion
Fuzzy grain on cherry cabinet doors is annoying, but it’s not mysterious. It traces back to bit sharpness, feed technique, and moisture content, every time. Swap in sharp, hardwood-rated bits, dial in your feed rate, and run the wet-sand method before finishing, and you’ll get the smooth, professional edges cherry cabinetry is supposed to have. The extra ten minutes you spend at the routing stage saves you hours of sanding and swearing later, once the stain’s already on.