White Ash Steam-Bent Laminations for a Lightweight Canoe Paddle Shaft
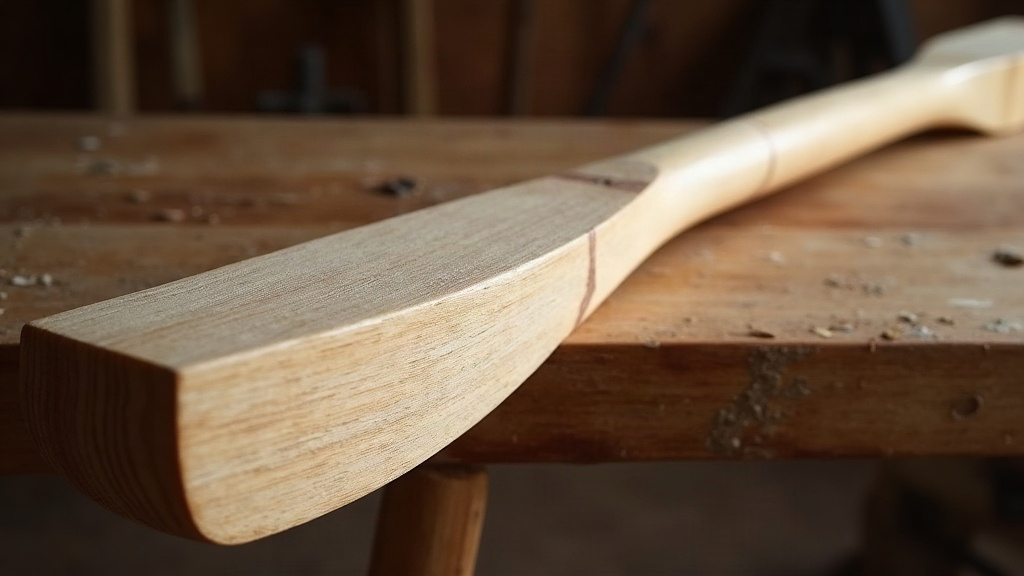
Building a canoe paddle shaft from steam-bent white ash laminations gets you a blade that’s lighter than a solid carve, stronger across the grain, and tuned to flex exactly where a paddler wants some give. Here’s why white ash works, how the bending and gluing actually happens, and the mistakes that’ll leave your shaft delaminating or snapping mid-stroke.
Why White Ash for a Paddle Shaft
White ash has been the go-to wood for paddles, tool handles, and tennis rackets for about a century, and there’s a reason it stuck around. It pairs low density with shock resistance that’s hard to beat. The open, ring-porous grain structure soaks up repeated stress (exactly what happens with every single paddle stroke) without the fiber breakdown you eventually see in denser hardwoods like maple.
A few properties that actually matter here:
- Weight-to-strength ratio: Ash runs around 42 lbs/ft³ dry, noticeably lighter than hickory or oak, yet it holds its own against both in flexural strength.
- Straight, consistent grain: Quarter-sawn ash billets split predictably. That matters a lot when you’re slicing thin strips for lamination and need every piece to behave the same way.
- Steam responsiveness: Ash’s cell structure takes on moisture and heat fast, which makes it one of the most forgiving woods for steam bending. You get fewer cracked strips and fewer wasted blanks.
Why Lamination Instead of a Solid Shaft
A solid-wood shaft carved from one ash blank is simple enough, but it’s got two problems baked in: it’s heavier than it needs to be, and any grain runout turns into a weak spot waiting to fail. Laminating thin strips (usually 1/8” to 3/16” thick) fixes both:
- Weight reduction: Pair ash with lighter woods (basswood, cedar, or spruce) in the core layers, and keep ash on the outer faces where the strength is actually needed.
- Grain control: Each strip is cut so its grain runs the full length of the shaft. No more short-grain weak points like you get in a solid carve.
- Tuned flex: Vary the lamination thickness and wood choice and you can engineer a shaft that flexes just enough under load to spare your shoulders, without turning noodly on you.
Steam-Bending the Laminations
Steam bending the thin ash strips before gluing lets you pre-set the shaft’s curve or the grip transition, instead of asking glue alone to hold a bend under real paddling stress. Glue is not a structural miracle worker here; the wood needs to want to hold that shape on its own.
Preparing the Strips
- Resaw your ash billet into strips roughly 1/8” thick, tracking the grain as closely as you can.
- Sand lightly to knock off saw marks. Rough surfaces scorch unevenly inside the steam box, and you’ll see it later as discoloration.
- If your steam run is short, pre-soak strips for 20-30 minutes first. It speeds up moisture penetration so the steam doesn’t have to do all the work.
Steaming and Bending
- Steam at full rolling steam, not just warm vapor, for about 1 hour per inch of thickness. For 1/8” ash that works out to roughly 7-10 minutes, though plenty of builders push it a bit longer just for insurance.
- Pull the strip straight from the box and bend it over your form immediately. Ash loses its pliability fast once it starts cooling, sometimes within a minute or two.
- Clamp against the form and let it dry fully, 24 to 48 hours, before you unclamp. Pull it off early and the strip springs right back toward flat, and all that steaming was wasted.
Common Mistakes
- Over-steaming: Leave strips in too long and you leach out lignin, which weakens the wood. More steam time is not automatically better, and in fact it works against you.
- Bending too slowly: Hesitate and the wood cools, which raises your odds of surface checking on the outside of the bend.
- Skipping the drying clamp time: Pull strips early and spring-back comes right back, ruining the curve you just spent an hour steaming for.
Laminating the Shaft
Once your strips are bent and fully dried, lamination follows pretty standard bent-lamination practice:
- Use a waterproof glue, epoxy or Titebond III, since this thing is going to spend its life wet.
- Stack strips with alternating or book-matched grain so internal stress balances out and the shaft doesn’t warp later.
- Clamp in the same form you used for steaming, applying even pressure along the full length with cauls or a vacuum bag so your glue lines stay consistent.
- Let it cure fully, 24 hours minimum, before you take it out of the form.
Shaping and Finishing
Once the blank has cured, shape it to an oval or round cross-section with a spokeshave, drawknife, or sanding drum. Most paddlers prefer an oval profile, honestly, because it lets you feel blade orientation through your grip without looking down. Finish with several coats of marine varnish, or a penetrating oil/varnish blend, to seal the end grain and protect against the wet-dry cycling that’s the real culprit behind delamination down the road.
Conclusion
A steam-bent white ash laminated shaft gives you both sides of the equation: the shock resistance and classic feel of ash, plus the weight savings and engineered flex that only lamination can offer. Careful steaming, patient clamping, and a solid waterproof glue-up are really what separate a paddle that lasts decades from one that falls apart after a single season. Give yourself the right form and a bit of practice, and this is a project well within reach for an intermediate woodworker with nothing more exotic than a steam box and a set of clamps.