Carving Crisp Lettering in Basswood Signs With a Palm Gouge
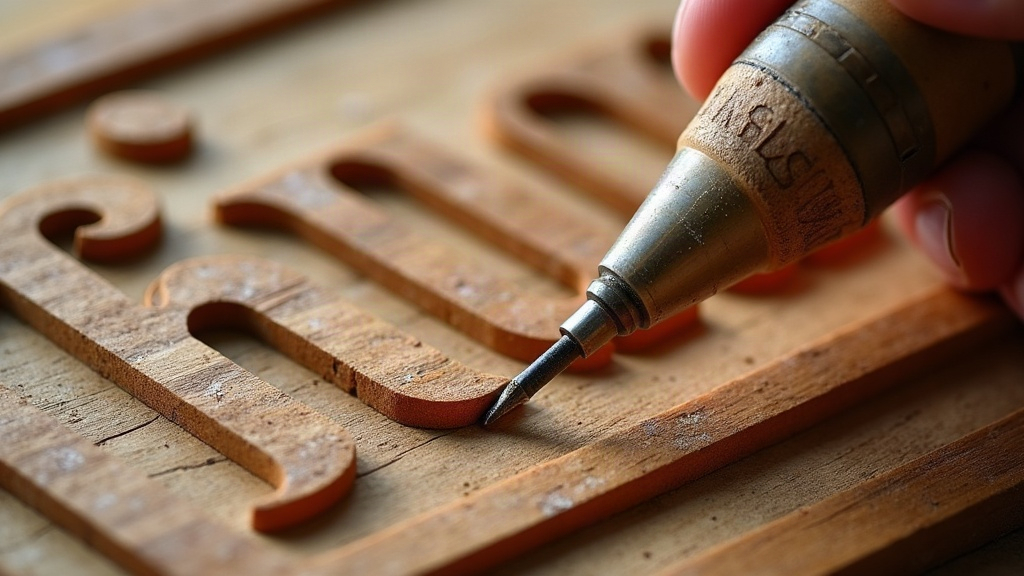
If you’ve ever watched a rotary tool chew through a sign and leave fuzzy, burned edges on your lettering, you already know why so many carvers are drifting back to palm gouges. Carving crisp lettering in basswood signs with hand tools gets you sharper corners, cleaner serifs, and a kind of tactile control no spinning bit can touch. Here’s the approach I actually use, start to finish, to cut clean, professional-looking letters entirely by hand.
Why Basswood and Why Hand Tools?
Basswood is the gold standard for lettering work, and for good reason:
- Tight, even grain, minimal tear-out even across end grain
- Softness, easy to cut but firm enough to hold a crisp edge
- Light color, which shows off shadow lines in letters beautifully, especially under raking light
Rotary tools are fast, sure. But they generate heat, fuzz up the fibers, and make it genuinely hard to get a true flat-bottomed V-cut with sharp, un-charred walls. A sharp palm gouge slices the wood fibers cleanly instead of burning through them. Apply one coat of finish or paint and the difference jumps out at you immediately.
Essential Tools for Hand-Carved Lettering
You don’t need a huge kit to get started. Honestly, a focused set of five tools beats a drawer full of random gouges you’ll never reach for:
- 60-70° V-tool (parting tool), for outlining and cutting the main V-groove of each letter
- Small palm gouges (#3, #5, #7 sweep, 3-6mm wide), for rounding curves and clearing waste
- Skew chisel, for crisp inside corners on letters like A, E, and K
- Bench knife, for stop cuts and fine detail cleanup
- Mallet or palm pressure, since basswood is soft enough that most cuts can just be pushed by hand
Keep your tools scary sharp. A dull edge is the single biggest cause of torn, fuzzy lettering, more so than any tool choice you make.
Step-by-Step: Carving the Letters
1. Transfer the Design Carefully
Print your lettering at final size and use graphite transfer paper, or trace directly with a stylus. Skip the freehand sketch for formal signs. Consistency matters more than artistic looseness here, and nobody wants a crooked “A” staring back at them from the porch.
2. Make Your Stop Cuts First
Using the V-tool or a knife, cut a shallow stop cut straight down along every letter outline. This one step prevents blowout when you come in at an angle later. Go slightly inside your pencil line, not directly on it. You can always widen a cut later, but you can’t un-cut wood once it’s gone.
3. Rough Out the V-Groove
With the V-tool, run a continuous groove along the inside of each letter, cutting at a 45° angle from both sides to meet your stop cut. Work in short, controlled strokes rather than long drags. Push too hard in one pass and basswood will tear on you the moment it hits a bit of grain runout.
4. Clean the Corners With a Skew or Knife
Letters like V, W, M, and N have sharp interior points that a V-tool alone just can’t resolve cleanly. Switch to a skew chisel or knife tip and pare these corners down to a crisp apex. This is exactly where hand tools beat rotary bits: you end up with a genuine point, not a rounded blob that reads as “close enough.”
5. Define the Depth Consistently
Aim for a uniform depth across the whole sign, typically 3-5mm for a standard house sign. Inconsistent depth is the number one giveaway of amateur work. Use a depth gauge, or just eyeball each new letter against a reference one you’re already happy with.
6. Final Pass and Burnishing
Once the groove is cut, take one last light paring pass on each wall to knock off any fuzz. Some carvers go a step further and burnish the cut surface with the back of a spoon or a smooth bone tool. It compresses the fibers slightly and leaves an extra-crisp shadow line, which sounds like a small thing until you see it under morning light.
Common Mistakes to Avoid
- Skipping the stop cut: leads to blown-out letter edges, often right where you least want it
- Using a dull V-tool: causes fuzzy, torn grooves instead of clean slices
- Carving against the grain without adjusting angle: rotate the board or change your approach rather than muscling through it
- Inconsistent groove depth: breaks the visual rhythm across the whole sign
Finishing for Maximum Contrast
After carving, lightly sand the flat surface only. Never sand inside the letters, or you’ll round off the crisp edges you just spent an hour cutting. Apply a dark stain or paint into the grooves with a small brush, wipe the surface clean, then seal with exterior-grade spar varnish if the sign is heading outdoors.
Conclusion
Carving lettering by hand with a palm gouge takes longer than reaching for a rotary tool, no question. But the payoff shows up in the details: sharper corners, cleaner V-grooves, a handmade quality that photographs well and, frankly, sells better. Grab a sharp V-tool, a couple of palm gouges, and take your time with the stop cuts. You’ll end up with basswood signs that look genuinely professional, no spinning bit required.