Hand-Cut Sliding Dovetails for a Knockdown Maple Bookcase
Why Sliding Dovetails for Knockdown Furniture
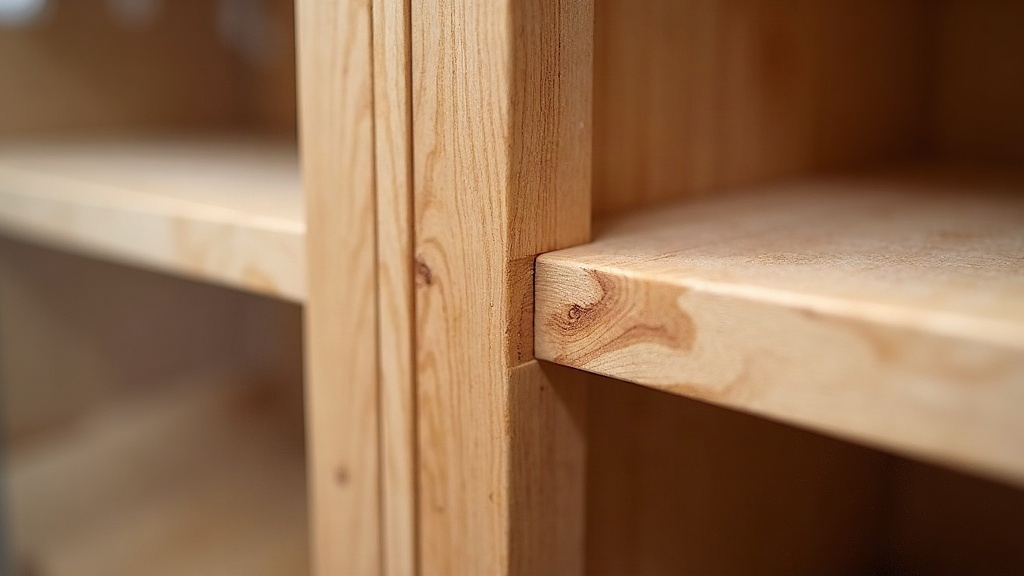
A sliding dovetail is basically a dado that’s been given angled walls instead of straight ones. Because the socket holds a constant dovetail angle (or a slight taper), the shelf’s tail can only go in from one direction. Once it’s seated, it physically can’t pull straight out, and it won’t rack side to side either. That mechanical lock is exactly what a knockdown piece needs:
- No glue required on a straight-through sliding dovetail, so the case ships flat and goes back together cleanly years later.
- Resists racking far better than a screwed-on or biscuited shelf. The wedge shape fights both vertical and lateral loads at once.
- Handles wood movement gracefully. Maple expands and contracts with the seasons, and a well-fitted sliding dovetail flexes slightly without loosening, unlike a glued butt joint that eventually cracks.
For a bookcase loaded down with books, that’s the difference between a shelf that sags in five years and one that outlasts the house it’s sitting in.
Choosing and Preparing the Maple
Hard maple is unforgiving but rewarding: it holds crisp dovetail walls without crumbling, and its density means a tight joint really does lock. Before you lay out a single joint:
- Mill sides and shelves flat, square, and to final thickness. Sliding dovetails amplify any twist already in the stock, so start clean.
- Let the maple sit and acclimate in your shop for at least a week. These joints don’t forgive parts that keep moving after you’ve fitted them.
- Mark every piece with reference faces and orientation, so each socket and tail gets cut relative to the same surface every time.
Laying Out the Joint
A standard sliding dovetail for bookcase shelves runs a 1:6 to 1:8 slope (roughly 10 to 14 degrees off square) and cuts the socket about a third to two-fifths into the thickness of the case side.
- Mark the socket depth with a marking gauge set to about a third of the side panel’s thickness. Deep enough for strength, shallow enough that you’re not weakening the panel.
- Lay out the dovetail angle on both socket walls with a sliding bevel set to your chosen slope, squared across the panel using a try square to guide the bevel.
- Mark the shelf tail to match exactly, but cut it a hair oversize so you have room to pare it down to a friction fit.
Consistency matters more here than the exact angle you pick. Every socket and every tail has to share the same slope, or the shelves stop being interchangeable, and that defeats the whole point of building knockdown.
Cutting the Socket by Hand
- Saw the shoulders of the dado walls with a dovetail or tenon saw, sticking close to your gauge lines.
- Remove the waste with a router plane or chisel, working down to the gauged depth line and checking depth as you go with a depth gauge or the router plane’s fence.
- Undercut the angled walls with a chisel registered against a wooden guide block cut to match your bevel angle. This is what keeps the slope consistent along the whole length of the socket.
- Test with a scrap wedge cut to the same angle before you touch the actual shelf tail with a saw.
Cutting and Fitting the Tail
Cut the tail on the shelf end the same way, sneaking up on the fit rather than rushing it:
- Saw just outside your lines, then pare back in thin shavings, checking often.
- Test-fit from the front edge, just a few inches at a time. Sliding dovetails go in from one end and get driven home, not forced in blind from the middle.
- You want a fit that slides with firm hand pressure for the first two-thirds, then needs a mallet tap to seat the last stretch. That’s the tell of a joint that’ll hold on its own, no glue needed.
Making It Knockdown-Friendly
For real knockdown use, taper the socket very slightly (what’s called a “tapered sliding dovetail”) so the joint tightens progressively as the shelf gets driven home, instead of binding evenly the whole way. That makes taking it apart and putting it back together repeatable, without the joint wearing loose after a dozen moves. A light coat of paraffin wax on the socket walls cuts friction and keeps maple from binding on maple when humidity swings through the seasons.
Common Mistakes to Avoid
- Cutting the angle freehand, no guide block. This is the fastest route to walls that bind in one spot and wobble in another.
- Skipping test joints in scrap maple before cutting the real shelf. These joints don’t leave room for trial-and-error on finished stock, one bad cut and you’re re-milling a shelf.
- Forcing a tight fit with a mallet right from the start. Sneak up on it. Every time.
Conclusion
Hand-cut sliding dovetails turn an ordinary maple bookcase into knockdown furniture that goes together without hardware, shrugs off racking, and can be broken down and moved for decades. The keys: consistent layout across every socket and tail, patient paring instead of forcing, and a slight taper so assembly stays repeatable joint after joint. Get this one down, and it becomes the backbone of pretty much any serious case-furniture build you take on.