Winterizing a Backyard Cedar Planter Box With Frost Covers
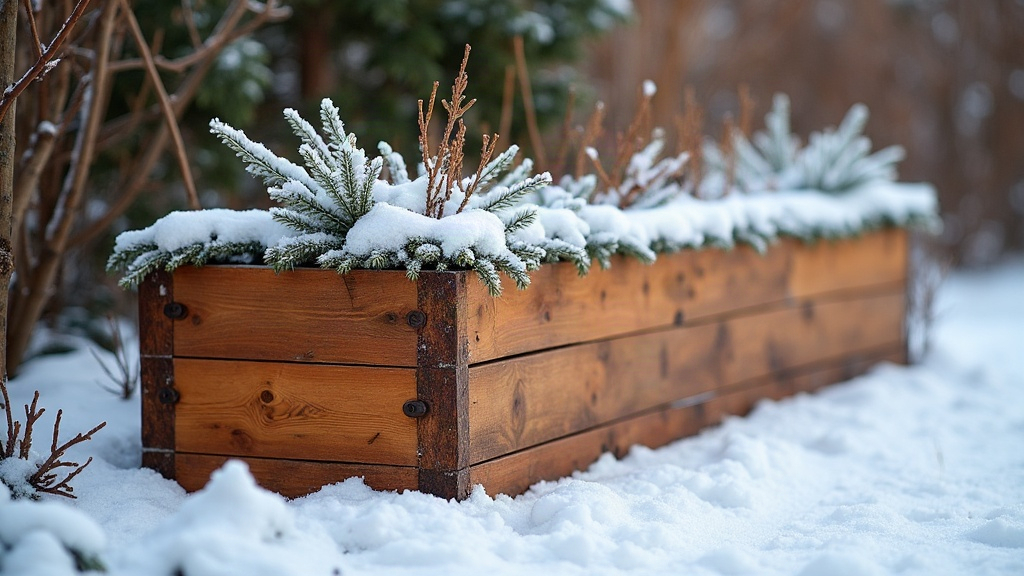
Winterizing a backyard cedar planter box with removable frost covers does double duty: it protects the wood structure and shields whatever’s still growing inside. Done right, it stops freeze-thaw cracking, keeps soil from washing away, and saves your root crops from frost damage, all while letting you keep pulling cold-hardy greens out of the bed well past the point most gardens have shut down for the season. Spend a few hours on prep in early fall, and the box will shrug off a rough winter and bounce back even healthier come spring.
Why Cedar Planter Boxes Need Winter Protection
Cedar resists rot on its own, sure, but that doesn’t mean it sails through winter unscathed. Freeze-thaw cycles are the real enemy here. Soil swells when it freezes and shrinks when it thaws, and that constant push-pull works joints loose, pulls fasteners out of alignment, and eventually splits boards. Meanwhile, bare soil just sits there losing nutrients to winter rain and snowmelt, so by March you’re staring at a depleted bed that needs rebuilding before you can plant anything.
A removable frost cover system tackles both problems at once:
- It protects the wood by cutting down on moisture saturation and keeping ice from building up against the planter walls.
- It protects the soil (and anything overwintering in it) by trapping residual ground heat and blocking the worst of the wind chill.
Step 1: Clean Out and Prep the Bed
Don’t skip this part. Clear out spent annuals and dead foliage before you add any protection, because leaving rotting plant matter in the box is basically an invitation for pests and fungal problems next spring.
- Pull weeds out by the root, not just the tops.
- Top-dress with 1-2 inches of compost to put nutrients back in.
- Water deeply once before the first hard frost. Moist soil holds heat far better than dry soil (just don’t drown it, soggy is its own problem).
Growing kale, spinach, or garlic through the cold months? Leave them right where they are. The frost cover will keep them productive longer than you’d expect.
Step 2: Build or Buy a Removable Frame
Here’s the detail that separates a system you’ll actually use for years from one you’ll abandon after one season: the frame has to lift off completely. Don’t staple or nail a cover straight onto the box.
Simple PVC hoop frame:
- Screw corner brackets to the inside of the planter walls, then slide ½-inch PVC pipe into them.
- Bend the pipes into arcs to form a low tunnel, roughly 12-18 inches tall.
- Come spring, just slide the brackets out. No screws left sitting in the cedar.
Cedar-framed lid (best if looks matter to you):
- Build a lightweight cedar frame cut to rest right on the box’s top lip.
- Staple greenhouse plastic or frost cloth to that frame, never to the planter itself.
- Add two hook-and-eye latches so a gust of wind doesn’t send the whole thing flying.
Either approach keeps hardware off the actual cedar, which matters more than it sounds. Moisture pooling in screw holes is one of the most common ways these boxes start rotting early.
Step 3: Choose the Right Cover Material
Frost covers aren’t interchangeable. Each one behaves differently:
- Frost cloth (row cover): Light, breathable, buys you roughly 4-8°F of protection. Works best against light frost and wind, not deep freezes.
- Clear poly sheeting: Turns the box into a mini greenhouse, great on sunny winter days, but you’ll need to vent it on warmer afternoons or you’ll literally cook your plants.
- Burlap: Blocks wind well and insulates the wood itself, but it lets in less light, so it’s not great if you want active growth underneath.
For most backyard setups, the sweet spot is frost cloth layered over a hoop frame, with a poly sheet added only during an actual hard freeze.
Step 4: Protect the Wood Itself
A cover over the soil doesn’t mean the exterior wood is taken care of. It still needs its own attention:
- Seal exposed end grain with a food-safe cedar oil before the cold sets in.
- Get the planter up off the ground, even an inch or two on feet or gravel helps, so moisture doesn’t sit trapped underneath.
- Check the corner joints for gaps and caulk with exterior-grade sealant where needed.
Step 5: Manage the Cover All Winter
This isn’t a set-and-forget job. On those unusually mild days, anything above 40°F, lift the edges so humidity can escape (otherwise you’re growing mold, not greens). After a snowfall, brush the accumulation off before the weight has a chance to cave the frame in.
When to Remove the Cover for Good
Watch your nighttime lows. Once they’re reliably staying above freezing for your zone, usually 2-3 weeks ahead of your last frost date, pull the cover off entirely. Plants need that stretch of full sun and open air to toughen up before spring growth really kicks in.
Conclusion
A removable frost cover turns winterizing a cedar planter box into something you do once and reuse for years, not a project you redo every season. Keep the frame separate from the wood, pick your cover material based on what the weather’s actually doing, and stay on top of ventilation through the winter. Do that, and you’ll stretch your harvest season further than you’d think, while your cedar box keeps looking sharp year after year.