Beginner Guide to Cutting Accurate Box Joints on a Jobsite Saw
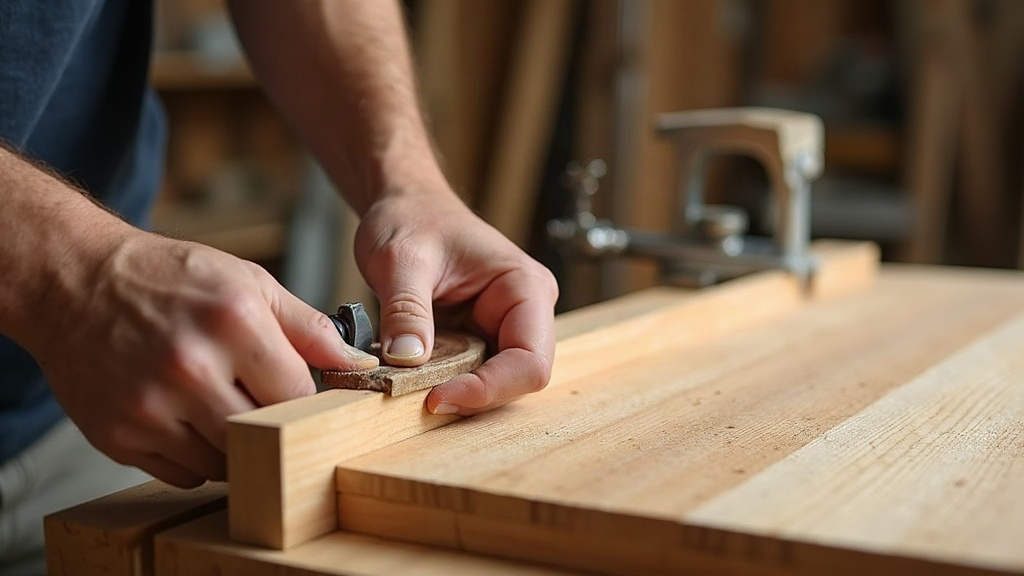
Cutting Box Joints on a Compact Jobsite Table Saw
Yes, you can absolutely cut accurate box joints on a compact jobsite table saw. No router table, no cabinet saw, none of that. What you actually need is a stable jig, a stack dado (or the patience to nibble it with a single blade), and a willingness to run test cuts until the fit is right. This guide takes you from building a bare-bones box joint jig to dialing in a fit that clicks together on the first real attempt.
What Are Box Joints (and Why Bother)?
Box joints, also called finger joints, are those interlocking rectangular “fingers” cut into the ends of two boards so they lock together at a corner. Compare that to dovetails: no angled cuts required, which makes them a much friendlier entry point for anyone new to joinery. Don’t mistake “easier” for “weaker,” though. Box joints hold up mechanically and give boxes, drawers, and small casework that unmistakable handmade look.
The tricky part isn’t the shape. It’s repeatability. Every finger, every gap between them, has to match exactly, or the joint ends up sloppy, or worse, won’t close at all. This is exactly why a jig matters so much here.
Can a Compact Jobsite Saw Really Do This?
Yes, honestly. A benchtop or compact jobsite saw already gives you what’s required:
- A miter slot to guide a sled or jig
- A rip fence (only for setting up the jig, never during the actual cutting)
- Enough arbor clearance for a stacked dado set, or enough patience to nibble the joint with a standard blade if you don’t own one
The real limitations are blade width consistency and table size, and a shop-made jig handles both of those problems directly.
Building a Simple Box Joint Jig
Skip the commercial jig. A sled-mounted box joint jig is something you can knock out in under an hour with materials you probably already have.
Materials:
- A miter slot runner (hardwood or UHMW strip)
- 3/4” plywood or MDF for the sled base and fence
- A small hardwood key/pin sized to match your dado width
Steps:
- Attach the runner to a plywood base so it glides through the miter slot with zero side-to-side play.
- Screw a tall auxiliary fence to the back of the sled, square to the blade.
- Run the dado blade through the fence to cut a slot at your target width (1/4” and 3/8” are the usual choices).
- Glue in a hardwood key sized to fit that slot exactly, letting it stick out about 1/2” toward the blade.
- That key is the whole trick: hook your workpiece’s previously cut slot over it, and it spaces the next finger automatically, every time.
Setting Up the Cut
- Pick your finger width. For smaller boxes, 1/4” to 3/8” reads as well-proportioned. If you’re working with thicker stock, 1/2” fingers work fine too.
- Install a stacked dado set matched to that width. No dado stack? Plan on two passes per slot with a standard blade instead.
- Set blade height just slightly above your material thickness (roughly 1/32” over) so the joint sits flush once assembled and sanded.
- Run a test cut in scrap that’s the same thickness as your actual project stock. Don’t skip this. Box joints succeed or fail entirely on how well that test fit turns out.
Cutting the Joint Step by Step
- Butt the first board against the jig’s key and cut the first slot.
- Lift the board off, drop that fresh slot over the key, and make the next cut. Keep repeating across the whole width.
- On the mating board, shift your starting position by exactly one finger width so the two pieces mesh together correctly.
- Dry-fit before you touch the glue. Too tight and you risk splitting the wood; too loose and the joint just won’t hold.
Common Beginner Mistakes
- Skipping the test cut. Even an error as small as 0.005” adds up fast once you’ve got a dozen fingers stacked side by side.
- Blade height set too low, which leaves fingers proud and means way more sanding than you should have to do.
- A sloppy sled fit in the miter slot, which throws off finger width consistency from one cut to the next.
- Rushing the glue-up. Box joints have a huge amount of surface area, so reach for a slower-setting glue and clamp evenly across the whole joint.
Finishing Tips
- Sand the fingers flush after glue-up, always working with the grain, never against it.
- A light chamfer along the outside edges hides small inconsistencies and, honestly, just looks like you meant to do it.
- Mixing wood species (walnut fingers set into maple, for example) turns a beginner-level joint into an actual design statement.
Final Thoughts
You don’t need an expensive saw or a router table to cut clean box joints. A well-built jig, a dado set sized correctly, and a habit of testing on scrap before committing to real stock will get you there on any compact jobsite table saw. Start small, nail down that key spacing early, and pretty soon you’ll be turning out tight, structurally sound joints that hold up under real use and look sharp on whatever small project you’re building next.